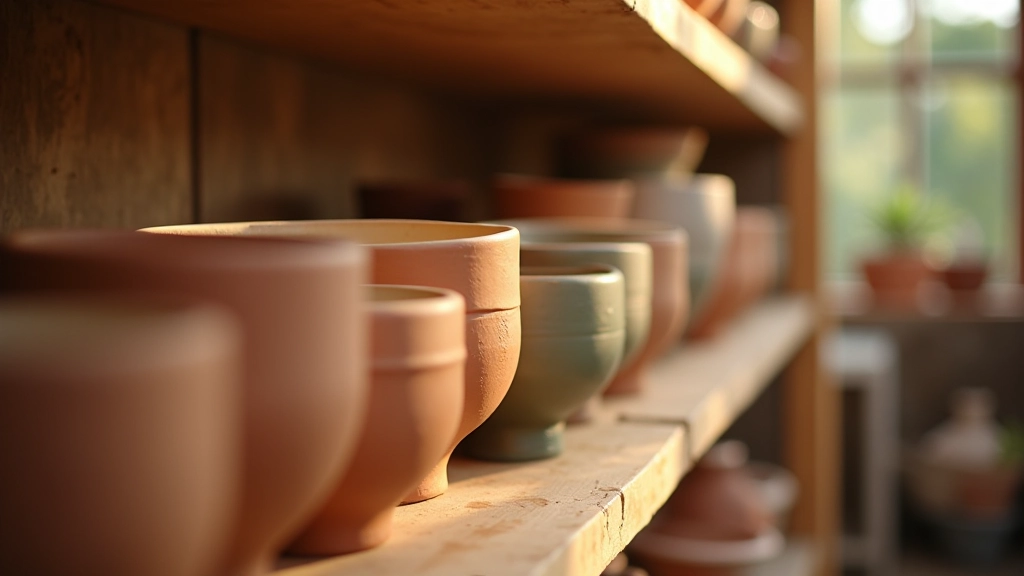
Getting Started with Pottery: What to Expect in Your First Class
Learn what happens during your first pottery session — from clay prep to your first wheel throw. We’ll walk through the experience so you know exactly what to expect.
Read GuideMaster the three principles that transform simple flowers into stunning displays. Learn to create beautiful seasonal arrangements that bring life to any space.
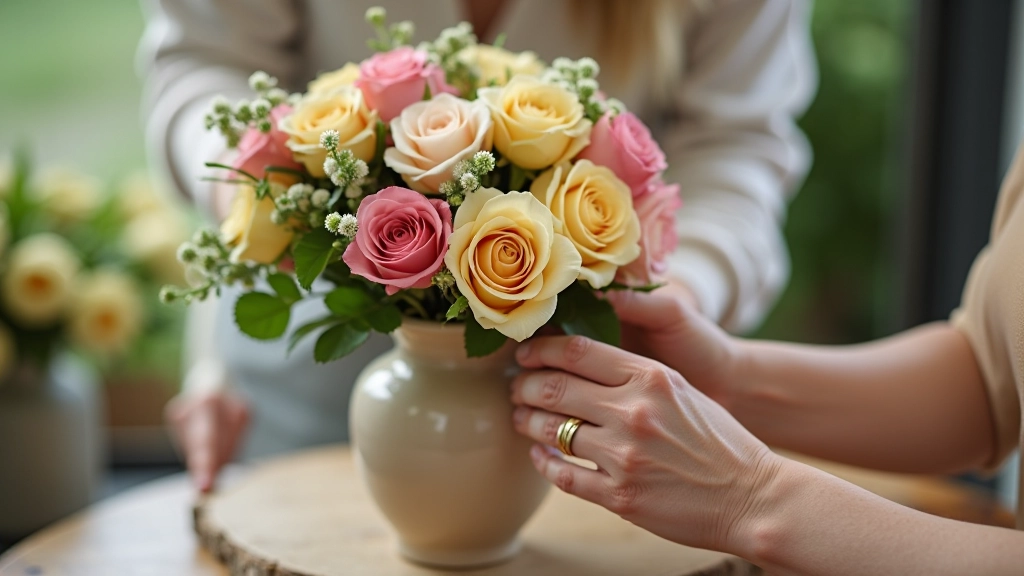
When you’re arranging flowers, you’re not just putting stems in water. There’s real technique involved, and it’s not as complicated as you might think. The secret? Understanding colour, form, and balance. These three elements work together to create arrangements that look intentional, professional, and honestly, quite beautiful.
Whether you’re working with grocery store bouquets or flowers from a market in Portugal’s countryside, these principles stay the same. They’ll guide every decision you make — from which flowers go where to how to fill empty spaces. You’ll learn that arrangement isn’t about luck. It’s about knowing what you’re doing.
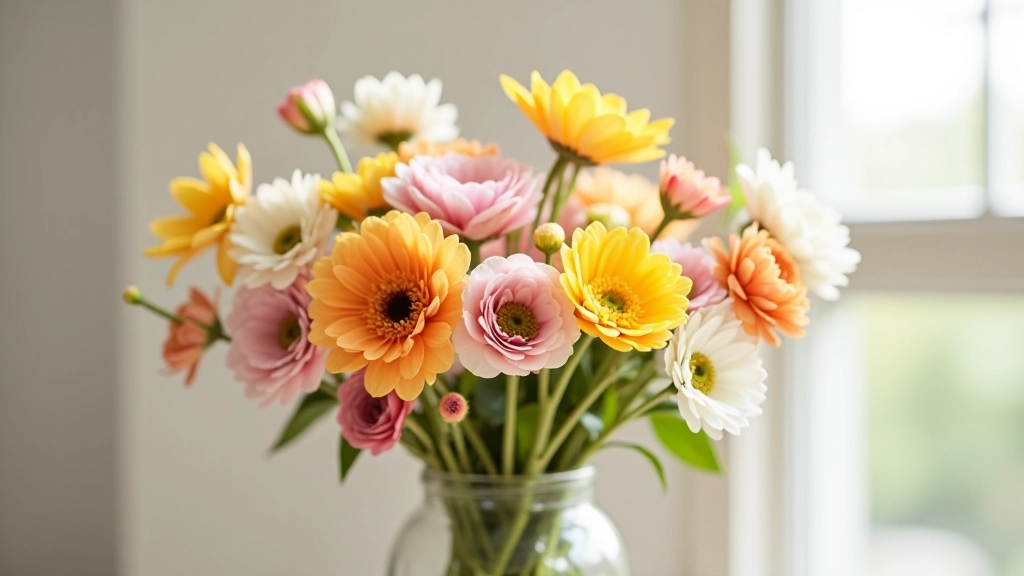
Colour sets the mood instantly. Warm tones — reds, oranges, yellows — create energy and warmth. Cool tones — blues, purples, greens — feel calm and sophisticated. You don’t need to be a colour theory expert. Just know that you’ve got a few solid options.
The easiest approach? Pick a dominant colour that’ll take up about 50-60% of your arrangement. Then add a supporting colour — something that complements or contrasts nicely. Finally, use a neutral like white, cream, or greenery to give everything breathing room. That’s it. Three colours, and you’ve got harmony.
Don’t overlook single-colour arrangements. Different shades of pink, or various whites with cream — these arrangements feel sophisticated and actually easier to pull together. You’re varying tone and texture instead of juggling multiple colours.
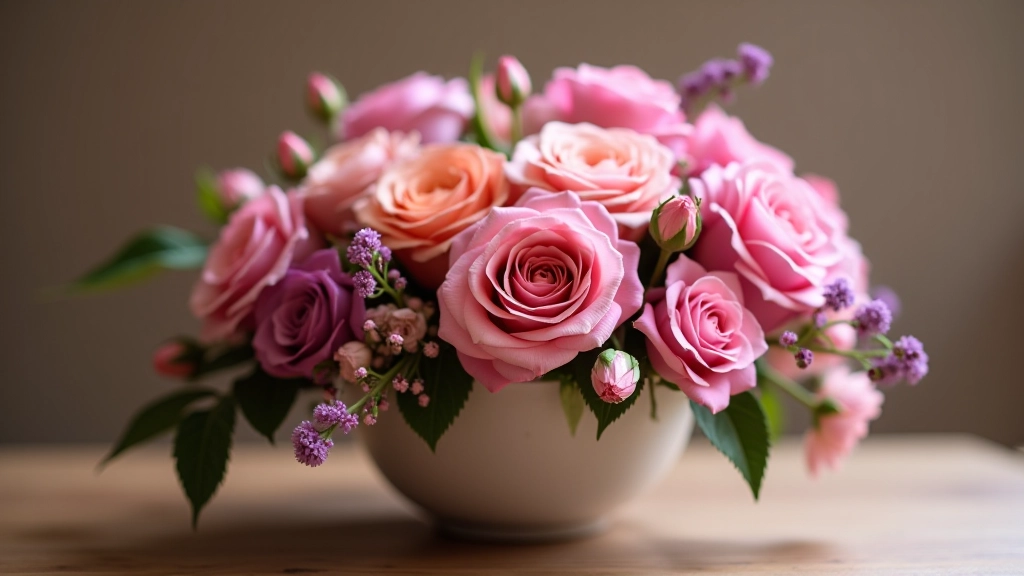
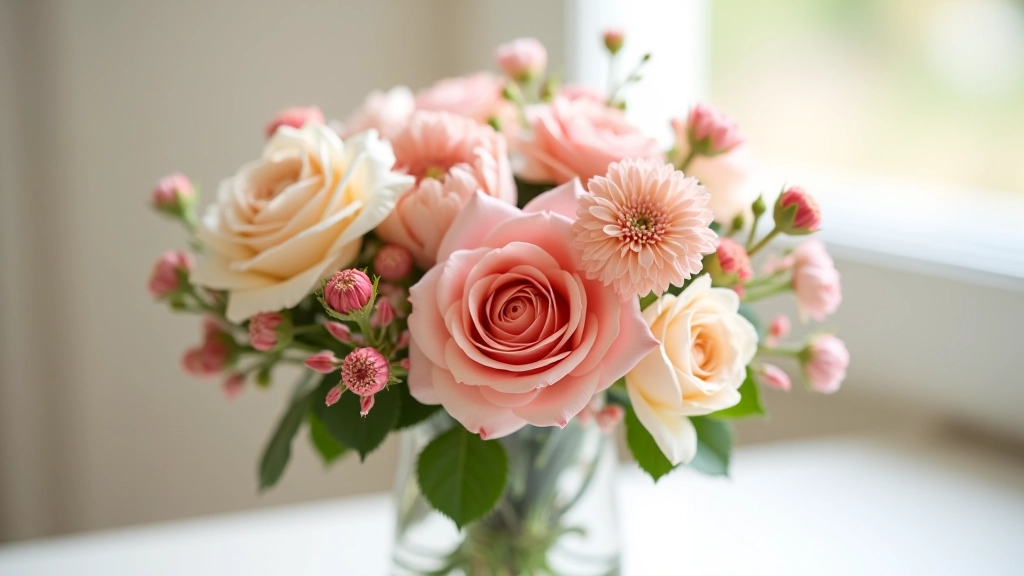
Form is about the shape of individual flowers and how they work together. You’ve got round flowers like roses and dahlias that anchor an arrangement. You’ve got linear flowers like delphiniums and stock that add height and movement. Then there’s filler — baby’s breath, waxflower, eucalyptus — that softens everything and fills gaps.
Here’s the practical part: start with your focal flowers — usually 3-5 blooms of your dominant colour. Place them at varying heights. Then layer in supporting flowers at different angles. Don’t plant everything straight up. Angle some stems, let some flowers face sideways. That’s what creates depth and makes an arrangement feel alive rather than stiff.
Balance doesn’t mean symmetrical. You’re not aiming for a mirror image on both sides. Instead, you’re creating visual equilibrium. A large flower on one side gets balanced by a cluster of smaller flowers on the other. Height on the left gets balanced by fullness on the right.
Think of it like composing a photo. You want the viewer’s eye to move around the arrangement, not get stuck on one heavy side. Generally, keep your tallest point about 1.5 times the height of your container. Width should be roughly equal to height, maybe slightly wider. These aren’t rules set in stone — they’re guidelines that work most of the time.
“The best arrangements look effortless. But there’s intention behind every stem placement.”
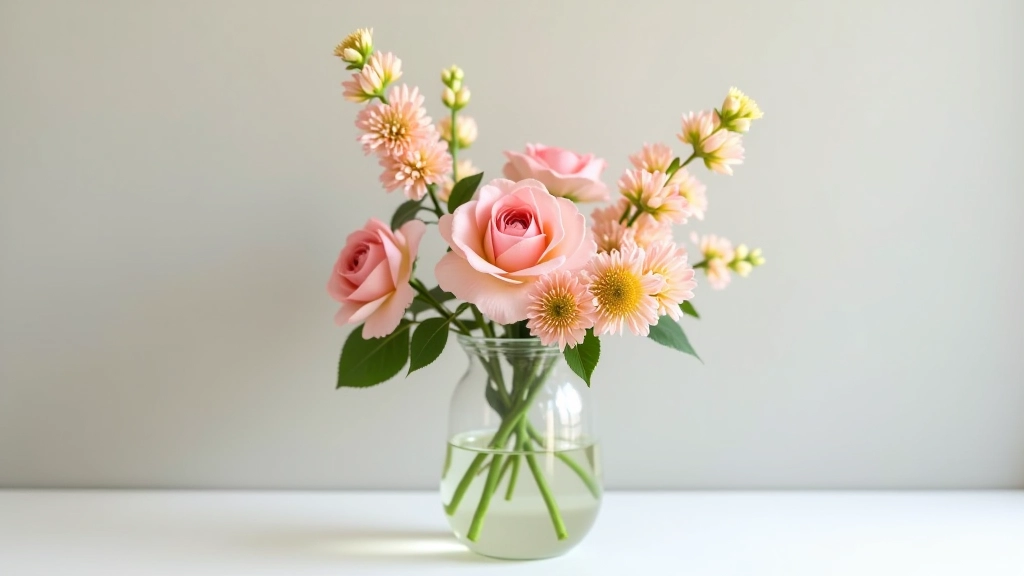
Ready to apply these principles? Here are three projects using readily available flowers. Each one teaches you something different.
Choose three complementary colours — say pink, white, and green. Use 5-7 focal flowers, layer in secondary blooms, fill with greenery. This teaches colour harmony and basic form principles.
Time: 20 minutes | Flowers: 12-15 stems | Container: Medium vase
Work entirely in one colour family — all pinks or all creams. Use different flower shapes and varying tones to create visual interest. This forces you to master form and balance without colour complexity.
Time: 25 minutes | Flowers: 15-18 stems | Container: Tall cylindrical vase
Buy a grocery store bouquet and completely rearrange it. Remove some flowers, angle others, add greenery you find. Learn to edit and improve existing arrangements — a crucial real-world skill.
Time: 30 minutes | Flowers: From one bouquet | Container: Any vase you have
Use room-temperature water and change it every 2-3 days. Clean the vase completely between changes. Remove any leaves that’d sit below the waterline — they’ll rot and spoil the water.
Use sharp scissors or a floral knife. Crushed stems can’t absorb water properly. Cut stems at a 45-degree angle — more surface area means better hydration.
Keep arrangements away from direct sunlight, heating vents, and ripening fruit. Ethylene gas from fruit speeds up flower aging. Cool locations extend vase life significantly.
Always establish your greenery framework before adding flowers. This gives you a structure to work with and hides the mechanics. It’s easier to build on greenery than to add it after.
Don’t arrange from one angle. Walk around it. View it from different distances. What looks balanced up close might look lopsided from across the room. Perspective changes everything.
Slightly imperfect blooms are cheaper and perfect for learning. A bent stem or minor bruise doesn’t matter once it’s arranged. You’ll waste less money while you’re developing your skills.
Portugal’s climate offers beautiful seasonal options year-round. Working with what’s in season means fresher flowers, better prices, and designs that feel authentic to the moment.
Tulips, hyacinths, ranunculus, sweet peas, and garden roses start appearing. This is when you get fresh, locally-grown options at markets. Spring arrangements feel light and hopeful — perfect for that season.
Sunflowers, dahlias, zinnias, cosmos, and lavender dominate. These are hardy, cheerful flowers that last well in arrangements. Summer designs can be bold and abundant without looking overdone.
Chrysanthemums, celosia, astilbe, and hypericum berries appear. These are earthier tones — burgundies, golds, deep reds. Autumn arrangements naturally feel warm and sophisticated.
Holly, ivy, mistletoe, and winter roses are available. Evergreen branches add structure. Winter arrangements can be minimal and elegant or rich and festive depending on what you choose.
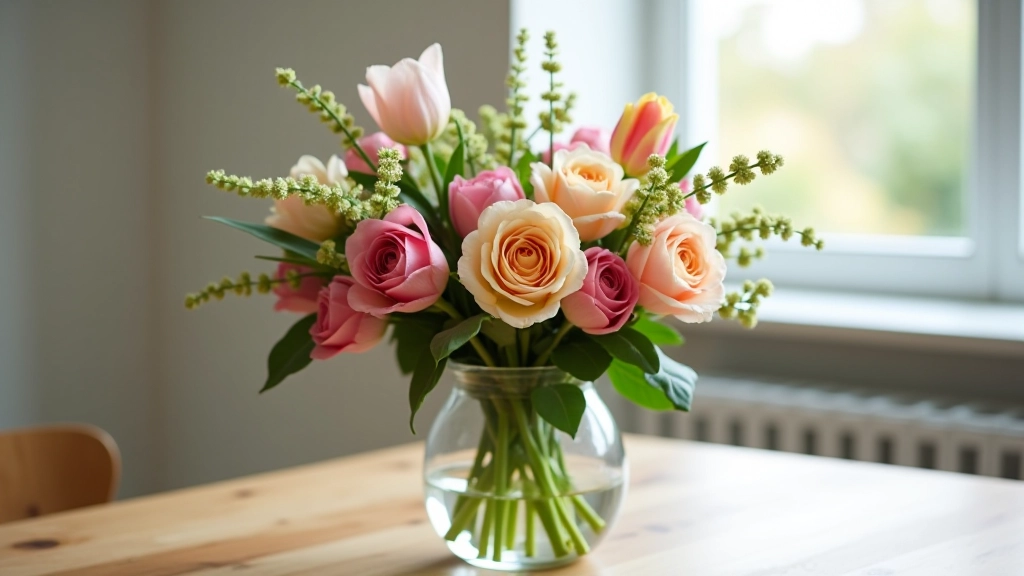
Colour, form, balance — these three principles work for every arrangement you’ll ever create. They’re not complicated. They’re just guidelines that help you make intentional choices instead of guessing.
Your first arrangements won’t be perfect. That’s okay. Every florist started exactly where you are. The difference between someone who arranges flowers well and someone who doesn’t? Practice. You’re going to get better with every single arrangement.
So grab some flowers this week. Apply what you’ve learned. Notice what works and what doesn’t. Adjust for next time. That’s how you develop your eye and your skills. Before long, you won’t even think about these principles — they’ll just be part of how you work.
Our floral arrangement workshops in Portugal teach these techniques hands-on. Work with fresh seasonal flowers, learn from experienced instructors, and create beautiful pieces to take home.
Explore Floral Arrangement WorkshopsThis article provides educational information about floral arrangement principles and techniques. While these guidelines are widely used in floral design, individual results vary based on available flowers, personal preferences, and local growing conditions. Flowers mentioned may have different availability depending on your location and season. For professional floral services or specific design requests, consult with experienced local florists. This information is intended to help you understand the fundamentals of flower arranging for personal enjoyment and practice.