
The Art of Candle Making: Wax, Scent, and Design
Discover how to blend soy wax, select essential oils, and create beautiful candles. Learn three simple designs you can make in your first session.
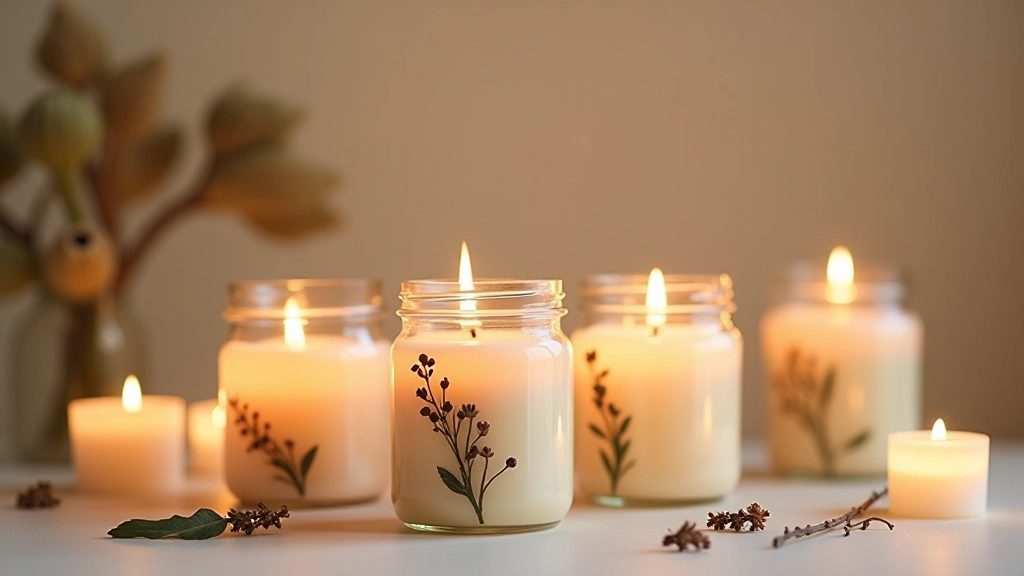
Why Candle Making Matters
Candle making isn’t just a craft — it’s a sensory experience that combines chemistry, creativity, and patience. You’re not just pouring melted wax into containers. You’re blending fragrance notes, understanding burn temperatures, and designing something people will actually want in their homes.
What makes it so rewarding? The immediate results. Unlike pottery that needs firing or painting that requires months of practice, you’ll hold a finished candle in your hands within an hour. It works. It smells incredible. And you made it.
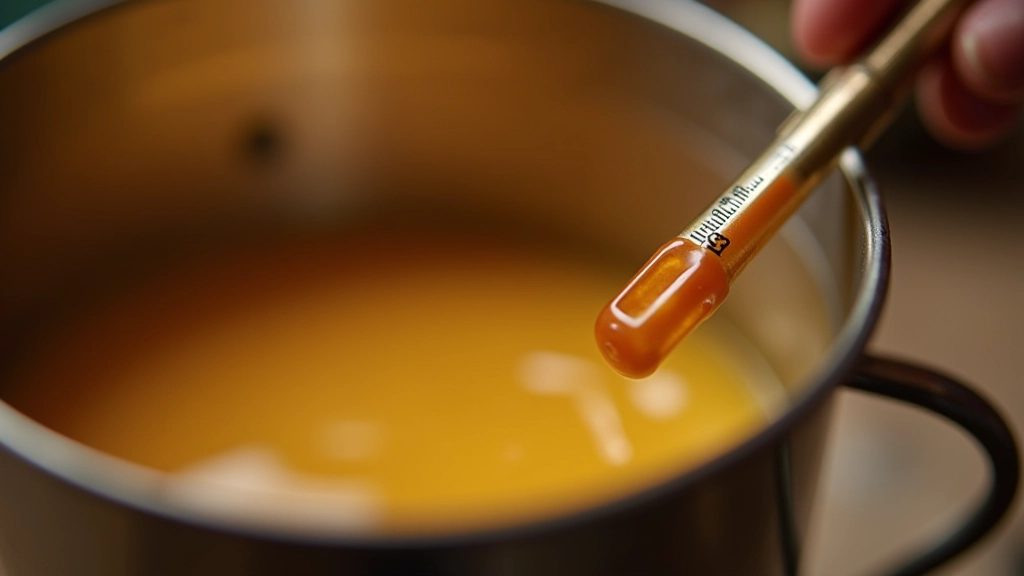
Understanding Your Wax
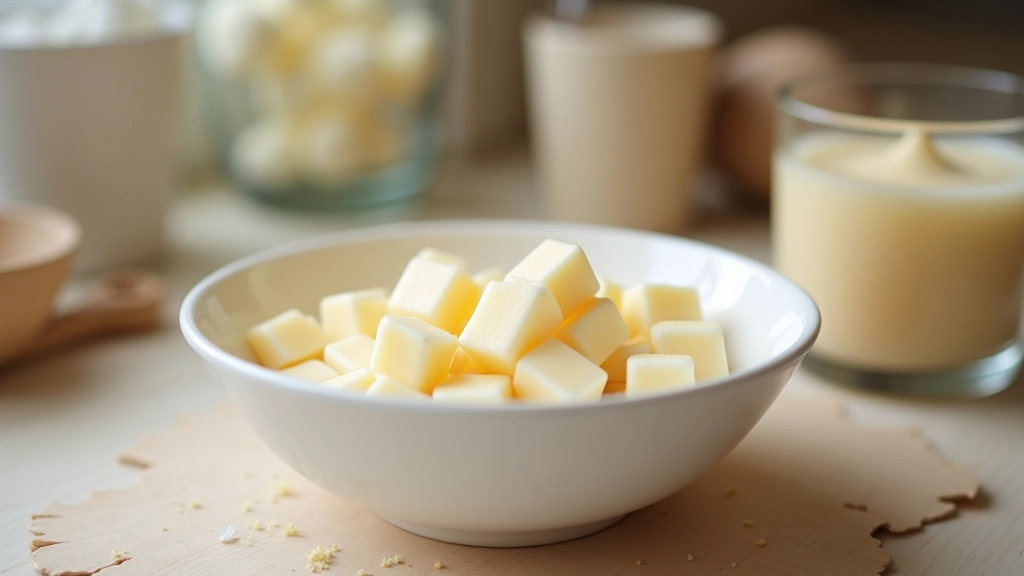
There’s a reason soy wax dominates craft candle making. It’s renewable, holds fragrance beautifully, and gives you that creamy appearance people expect. Unlike paraffin, soy wax burns slower — meaning your candle lasts 30-40% longer.
The science is straightforward: soy wax melts around 170-180C. Heat it too fast and you’ll get air pockets. Heat it properly and it becomes liquid gold. You’ll need a thermometer — this isn’t optional. We’re aiming for precision here, not guesswork.
Key Temperature Points
- 170C: Starting melt point
- 175C: Add fragrance oil (optimal absorption)
- 65-70C: Pour temperature (prevents cracking)
- 24 hours: Full cure time before lighting
Fragrance Oil Selection
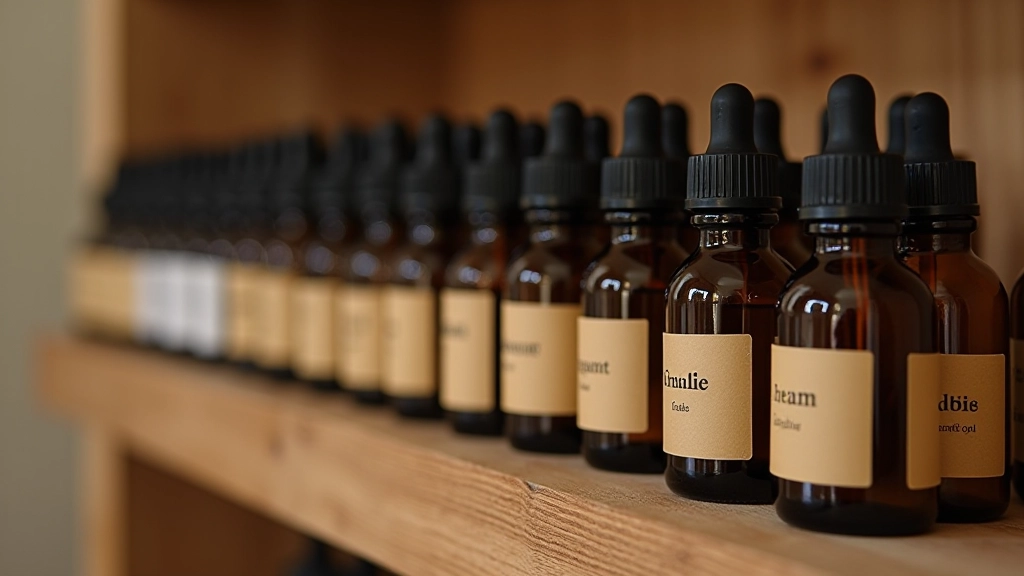
Here’s where the magic happens. Essential oils smell lovely, but they’ll burn off too quickly in a candle. You need fragrance oils — specifically formulated for candle making. They’re more stable and release scent consistently as the candle burns.
The ratio matters: add 6-8% fragrance oil by weight of your wax. Too little and the scent is faint. Too much and it won’t cure properly. A 500g batch needs about 30-40g of fragrance oil.
When blending, think in layers. Top notes (citrus, herbs) fade first. Middle notes (florals, spices) create the heart. Base notes (vanilla, musk, wood) linger. A balanced blend keeps people interested for the entire burn.
Three Designs for Beginners
You don’t need advanced skills to create something beautiful. Here are three designs you’ll master in your first session.
Single Pour Solid
The foundation. Pour your scented wax once and let it cool. Smooth finish, professional look, zero complexity. Choose a container with straight sides — glass works best. As it cools, you might see a slight sink hole in the center. That’s normal. Just call it “rustic charm.”
Time needed: 1 hour setup + 24 hours cure
Layered Scent
Pour your first color at 70C. Let it set for 2 hours. Then pour your second color at the same temperature over the first layer. The colors don’t blend — they create clear definition. Pick contrasting scents so each layer releases its own fragrance as the candle burns down.
Time needed: 1.5 hours setup + 24 hours cure
Embedded Botanicals
Pour your base color, let it cool slightly until a skin forms (about 10 minutes). Place dried flowers, lavender buds, or herbs on top. Then pour a thin second layer of clear or tinted wax over them. The botanicals suspend perfectly, creating a garden inside glass. It’s stunning and actually quite forgiving.
Time needed: 1.5 hours setup + 24 hours cure
Your First Candle: Step by Step
Prepare Your Space
Work on a clean, flat surface. Have your container, thermometer, fragrance oils, and wick ready. Pre-tabbing wicks (gluing them to container bottoms) takes 30 seconds and prevents them from floating.
Melt Your Wax
Use a double boiler or wax melter. Never direct heat — it scorches the wax and ruins fragrance. Stir occasionally. This takes 20-30 minutes depending on quantity. You’ll know it’s ready when it’s completely liquid with no lumps.
Add Fragrance
Once melted wax reaches 175C, remove from heat. Wait 2 minutes, then stir in your fragrance oil slowly. This prevents the sudden temperature drop that can cause splattering. Stir thoroughly for 2-3 minutes — fragrance needs even distribution.
Pour Carefully
Let wax cool to 65-70C before pouring. Use a pouring pitcher for control. Pour slowly in a thin stream, centering on the wick. Fill to about 1cm from the rim — you’ll add more later if needed. This takes patience. It’s worth it.
Cool and Cure
Leave your candle undisturbed for 24 hours in a cool room. Don’t move it, don’t touch it. The wax hardens and the fragrance fully bonds. After 24 hours, trim the wick to 6mm and light it up. Your first burn is the best moment.
Essential Tools You’ll Need
You don’t need much to get started. In fact, you probably have half of these already. Here’s what actually matters for quality results.
Thermometer
Non-negotiable. Digital probe thermometer, 0-200C range. 8-15. Precision matters more than cost here.
Pouring Pitcher
Metal or heat-safe glass. A spout makes pouring control easier. Stainless steel lasts forever.
Double Boiler
Or improvise with two pots. Direct heat kills wax. Gentle, consistent heat wins every time.
Wick Stickers
Small adhesive discs that hold wicks centered during pouring. 5 for 100 pieces. They save hours of frustration.
Glass Containers
Food-grade jars work. Thick-walled glass handles heat better. Clear glass shows off your design.
Wick Trimmers
3-5. Trim wicks to 6mm before each burn. Prevents smoking and prolongs burn time by 20%.
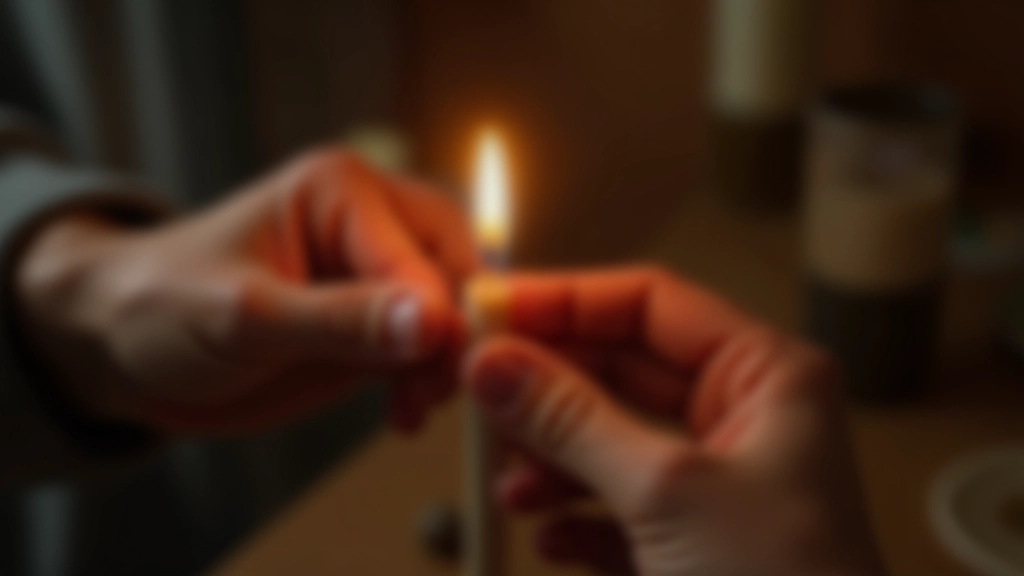
Pro Tips from Experience
You’ll learn most from your mistakes, but here’s what 100+ candles taught us that you can skip the learning curve on.
Cold spots = weak scent throw
If your room doesn’t smell like candle heaven after 2 hours of burning, the problem was probably cooling too fast. Next batch? Pour at 70C into a room-temperature container. That tiny difference matters.
Wick size affects everything
A wick that’s too thin won’t create a full melt pool (the liquid wax circle on top). Too thick and it smokes. Most 8cm diameter jars need a wick between 18-24mm. Start there, adjust if needed.
Let it cure fully
Lighting a candle before 24 hours is like eating bread straight from the oven — possible but wrong. The wax needs time to crystallize. Fragrance needs time to set. One full day. That’s it.
Your Candle-Making Journey Starts Now
Candle making rewards patience and precision. You’re not just heating wax — you’re creating an atmosphere, a memory, something someone will light on a quiet evening. That matters.
Start with a single pour, master the temperatures, nail the fragrance ratios. Once you’ve got those foundations, the creative part becomes pure joy. Layered scents, embedded botanicals, custom colors — it’s all built on the basics you’ve just learned.
Ready to Create Your First Candle?
Join our hands-on candle-making workshops in Portugal. Learn from experienced crafters, use professional-grade materials, and leave with finished candles you’re proud of.
Get Workshop DetailsImportant Information
This guide provides educational information about candle-making techniques and best practices. Always follow safety protocols when working with heated wax and fragrances. Soy wax reaches high temperatures during melting — use proper protective equipment and work in a well-ventilated space. Never leave melting wax unattended. If you’re new to crafting, consider taking a guided workshop where instructors can demonstrate techniques safely in person.
Explore More Craft Guides
Getting Started with Pottery: What to Expect in Your First Class
Learn what happens during your first pottery session — from clay prep to your first wheel.
Read Guide
Watercolour Painting Fundamentals for Absolute Beginners
Master basic watercolour techniques — wet-on-wet, glazing, and layering. Start with confidence.
Read Guide
Floral Arrangement Essentials: Colour, Form, and Balance
Learn the principles behind beautiful flower arrangements — focal flowers, supporting blooms, and balance.
Read Guide