Watercolour Painting Fundamentals for Absolute Beginners
Master wet-on-wet, glazing, and layering techniques. Start with simple exercises and build confidence with colour mixing.
Why Watercolour? Why Now?
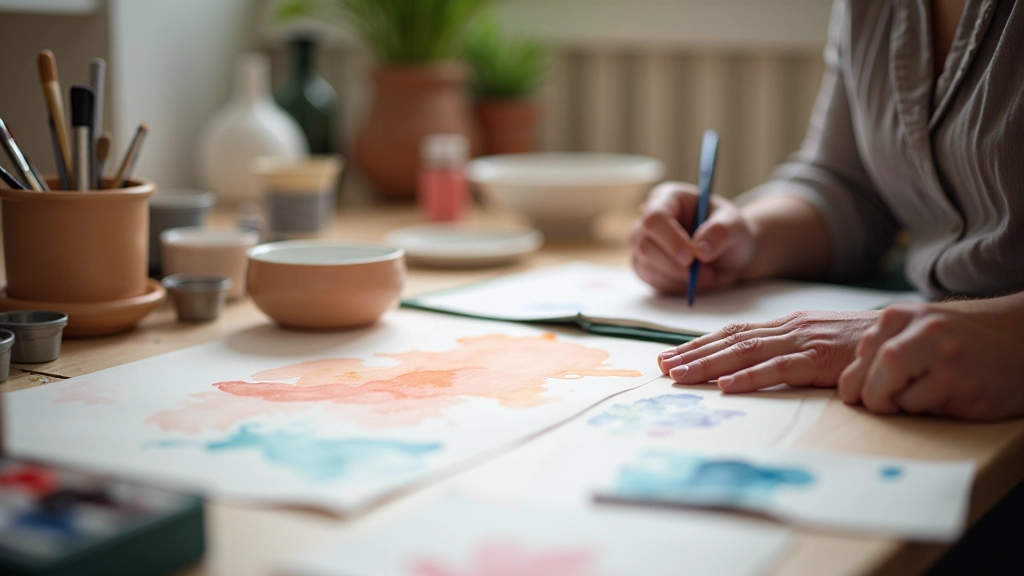
You’ve probably watched someone paint with watercolours and thought it looked impossibly hard. The truth? It’s actually more forgiving than you think. What makes watercolour special is that you don’t need expensive equipment to start — just paper, a few basic pigments, water, and brushes.
Unlike oils or acrylics, watercolours work with transparency. That means you’re building up layers of colour rather than covering things completely. This approach is perfect for beginners because mistakes become happy accidents. You’ll see results quickly, usually within the first session. And honestly, the flow of wet paint on paper is genuinely relaxing.
“I wasn’t confident about painting at all. But after the first two classes, I’d actually completed three small paintings. It’s encouraging when you can see progress so quickly.”
— Maria, age 52
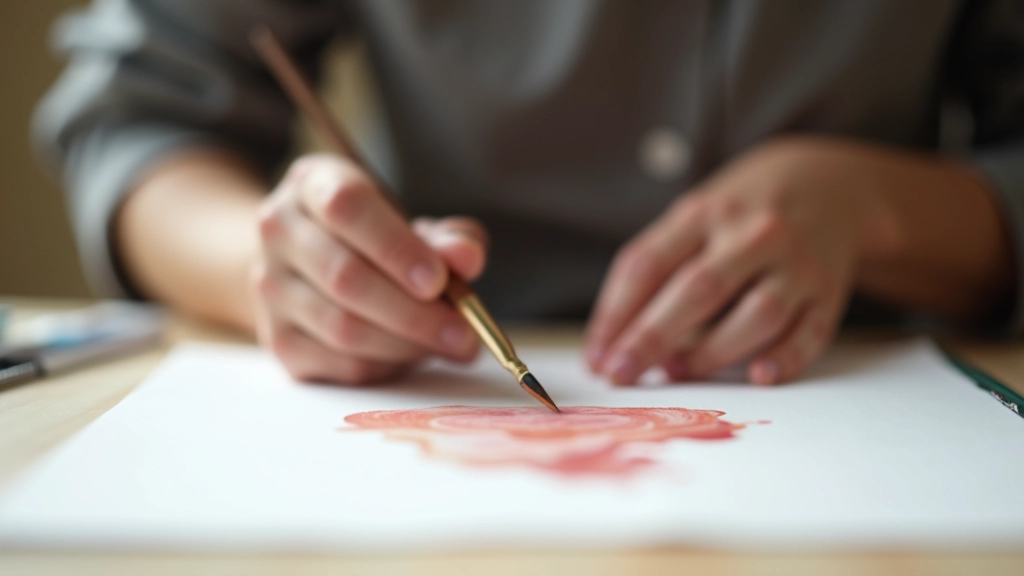
What You’ll Actually Need
Forget the idea that you need professional supplies to begin. We’re starting simple.
Watercolour Paints
Start with a basic student-grade set — 12 to 18 colours is plenty. You don’t need premium brands yet. Pan sets (the little cakes) are cheaper than tubes and great for learning.
Paper
This matters more than most people think. Get 140gsm (20lb) watercolour paper minimum — regular printer paper falls apart when wet. Rough or cold-pressed textures work well for beginners.
Brushes
Three brushes are enough: a large flat (for washes), a medium round (for details), and a small round. Natural hair holds more water, but synthetic brushes are fine and cheaper.
Water & Containers
Two containers (one for cleaning, one for clean water). A spray bottle for keeping your palette moist. That’s it. Tap water works fine.
Extras
Paper towels or cotton rags for blotting. A natural sponge for texture effects. Maybe masking tape to hold paper down. These aren’t essential but helpful.
Pencil & Eraser
A light pencil for sketching. HB or 2H work best — anything darker is hard to erase. You want just a faint guide underneath.
Three Core Techniques That Change Everything
These aren’t fancy advanced methods. These are the foundation. Once you understand how water controls the paint, you’ve got the whole game figured out.
01. Wet-on-Wet
You wet the paper first, then drop colour onto the wet surface. The pigment flows and spreads naturally. This creates soft edges and beautiful colour blending. It’s the most forgiving technique because the water does half the work.
The timing matters. Paper needs to be wet but not dripping — think damp, not flooded. You’ve got maybe 30-60 seconds before it starts drying. Drop your colour and watch what happens. This is where watercolour feels magical.
02. Glazing (Layering)
This is what separates watercolour from other mediums. You let one layer dry completely, then paint another layer over it. The transparency means colours blend optically — you see both layers at once.
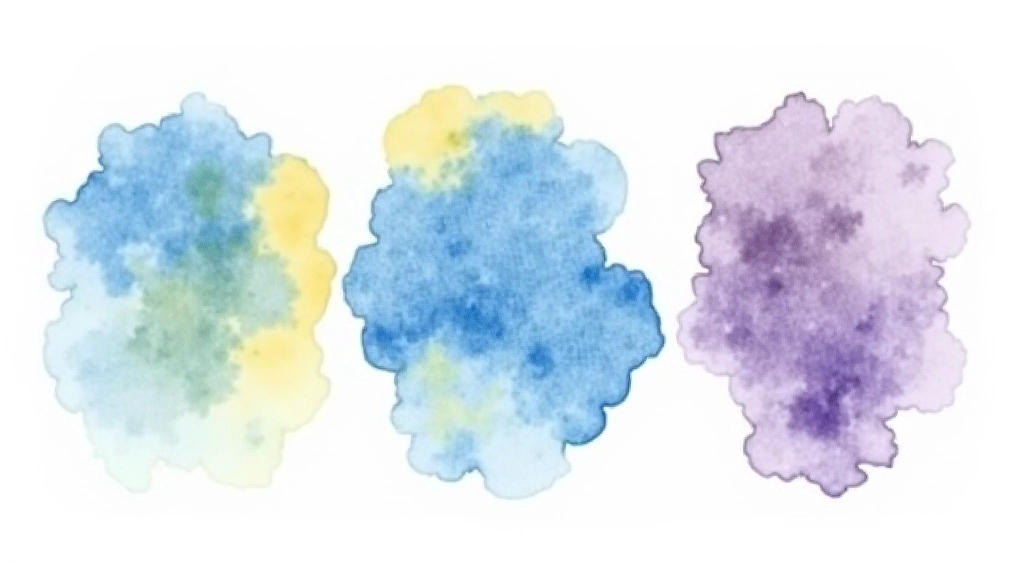
Start light and build darker. Paint a pale yellow wash. Let it dry. Paint a blue over part of it. Where they overlap, you get green. You’re mixing colours on the paper, not on the palette. This takes patience — each layer needs 5-10 minutes to dry properly.
03. Dry Brush
Load your brush with paint but very little water. Drag it across the paper. You get broken, textured marks instead of smooth washes. Perfect for details, texture, and creating interest.
This is how you add energy to a painting. After your glazed layers are down, dry brush adds personality. Tree trunks, grass texture, scratches — these details come from dragging a mostly-dry brush across paper.
Your First Exercises
Don’t jump into painting a landscape yet. These simple exercises build muscle memory and understanding. You’ll spend maybe 30 minutes on each, and you’ll see improvement immediately.
Exercise 1: Colour Mixing (15 minutes)
Pick three colours. Mix them on the palette with different amounts of water. Paint swatches showing how they change. This teaches you how much water controls saturation and darkness. You’ll discover that adding water creates pastels, and concentrating pigment makes rich colours.
Exercise 2: Wet-on-Wet Blooms (10 minutes)
Wet a square of paper. Drop a colour in the middle. Watch it bloom outward. Then drop a second colour nearby. See how they merge. This removes the pressure of “making something.” You’re just observing water and pigment doing their thing.
Exercise 3: Glazing Layers (20 minutes)
Paint a pale yellow wash across the paper. Wait until it’s completely dry (this is important). Paint a blue stripe across it. Wait. Paint a red stripe. You’ll see orange and purple where the colours overlap. This teaches transparency and patience.
Common Beginner Mistakes (and How to Avoid Them)
Every watercolourist has done these. Knowing about them ahead of time saves frustration.
Using Too Much Water
Your paper becomes a lake. Colours float everywhere. Control matters more than you think. Paper should be damp, not soggy. If you’ve got puddles, you’ve gone too far.
Mixing Colours on the Paper (When You Shouldn’t)
Layering wet paint on wet paint creates muddy colours. Wait for layers to dry first. That’s glazing. Mixing directly on wet paper only works for intentional blooms.
Overworking Areas
You paint something, then keep going over it. This creates dull, muddy sections. Watercolour rewards decisiveness. One or two brushstrokes is often better than five.
Starting with Dark Colours
You can’t lighten watercolour once it’s down. Start pale and build darker. This is the opposite of oil painting and it’s crucial to remember.
Dirty Water
Your rinse water gets brown from mixed pigments. Then you use it for a fresh colour and get muddy results. Change your water frequently. Keep one cup for cleaning, one for rinsing, one for fresh water.
Your First Real Painting
Once you’ve done the exercises, you’re ready. Don’t aim for a masterpiece. Aim for something simple that uses the techniques you’ve learned.
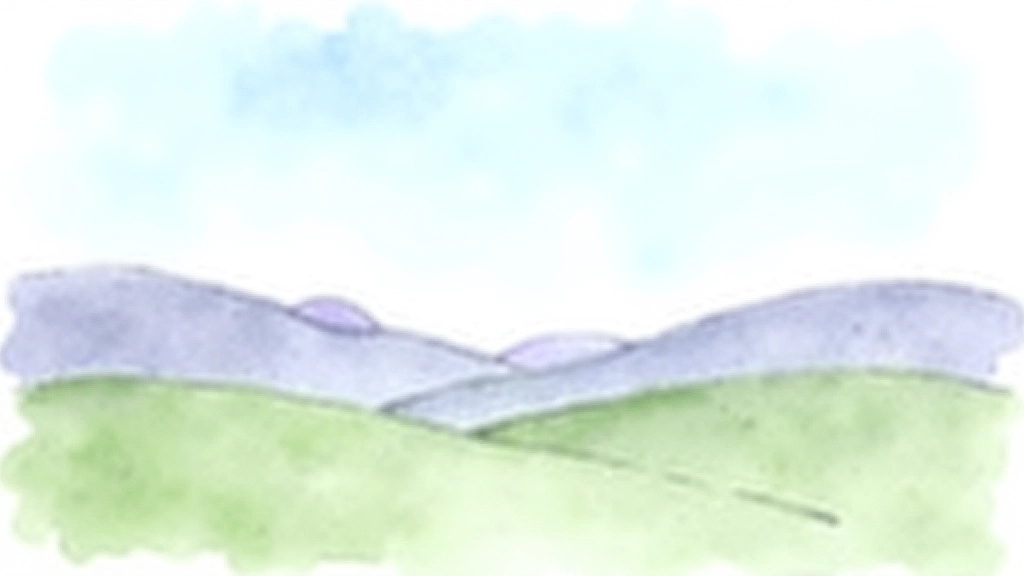
Try a simple landscape. Sky, hills, maybe a tree. Pencil sketch lightly. Wet the sky area and drop blues and purples. Let them blend naturally (wet-on-wet). Wait for it to dry completely. Then paint the hills with greens and browns on dry paper. Finally, add details with dry brush — tree trunks, texture.
You’ve used all three techniques in one painting. It won’t be perfect. There’ll be muddy bits or areas that don’t quite work. That’s completely normal. The point isn’t perfection at this stage — it’s understanding how the medium works and building confidence.
Keep it. In three months, you’ll look back and be amazed at how much you’ve improved. That first painting becomes proof that you can actually do this.
Ready to Paint?
Watercolour painting isn’t mysterious. It’s water, pigment, and paper. The techniques are learnable in an afternoon. The confidence comes from practice — not a lot, just consistent practice with intention.
What makes it special is that watercolour rewards decisiveness and embraces imperfection. That’s why so many people fall in love with it. There’s freedom in the medium that you don’t get with other techniques.
Take Your First Class
Ready to paint with guidance? Our beginner watercolour sessions meet twice weekly. You’ll work through these fundamentals in a supportive environment with other learners.
Explore Our ClassesA Note on This Guide
This article provides foundational information about watercolour painting techniques. Everyone develops their own style and approach — what works for others might not work for you, and that’s completely fine. Watercolour is personal. These fundamentals are a starting point, not rules. The best way to learn is by experimenting and painting regularly. Your own discoveries matter more than following guidelines perfectly.